A tour is your experience's profile: title, description, photos and what's included. Prices and schedules live in its services, covered in the next article.
1. Create the tour
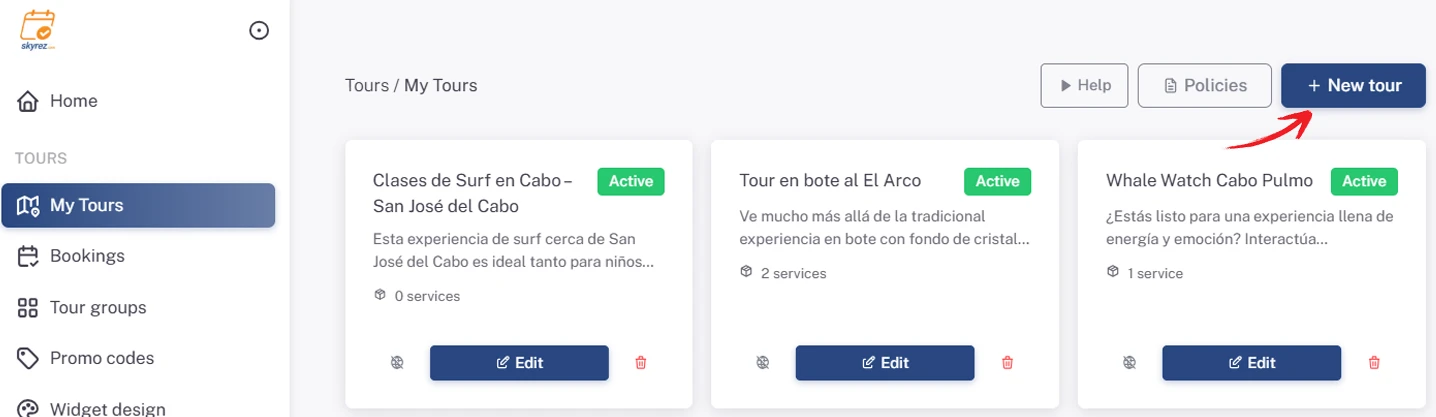
In the Tours module, click My Tours and then New tour. Enter the Tour title and click Create. The tour page opens with its tabs: Information, Photos, Services, Policy and Widget.
2. Fill in the information in Spanish
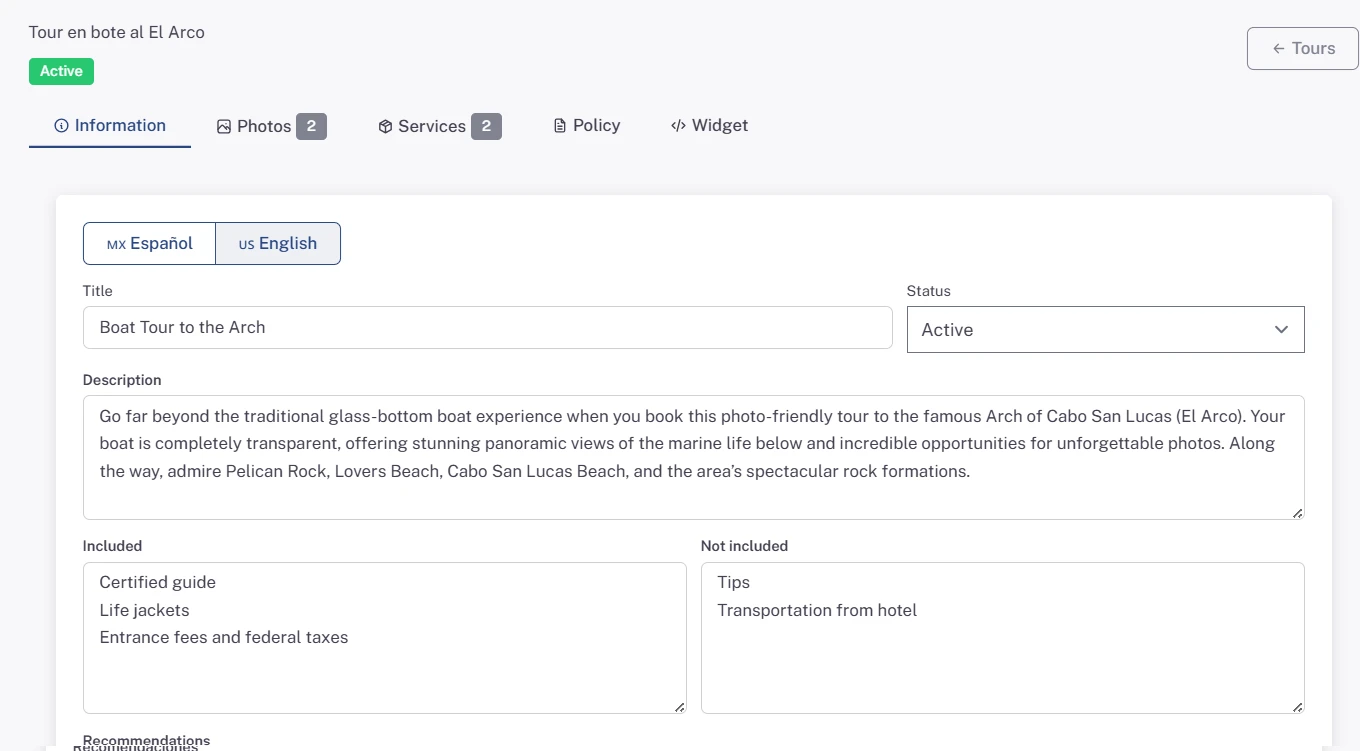
In the Information tab, with Español selected, enter:
- Title and Status: the tour must be Active to show on your site.
- Description: tell the story of the experience. Use short paragraphs; they're shown just as you write them.
- Included and Not included: one line per item, for example "- Park entrance".
- Recommendations: what to bring, clothing, sunscreen…
- Transport information: choose No transport, Meeting point or Pick-up area, and explain the details. Pickup points with their times are set up in each service.
- Additional information: age or weight restrictions, important notes…
Click Save information.
3. Fill in the information in English
Above the fields, switch to English, enter the same texts in English and click Save information again.
Save before switching languages: when you switch, the form loads that language's saved texts and anything you haven't saved is lost.
4. Upload the photos
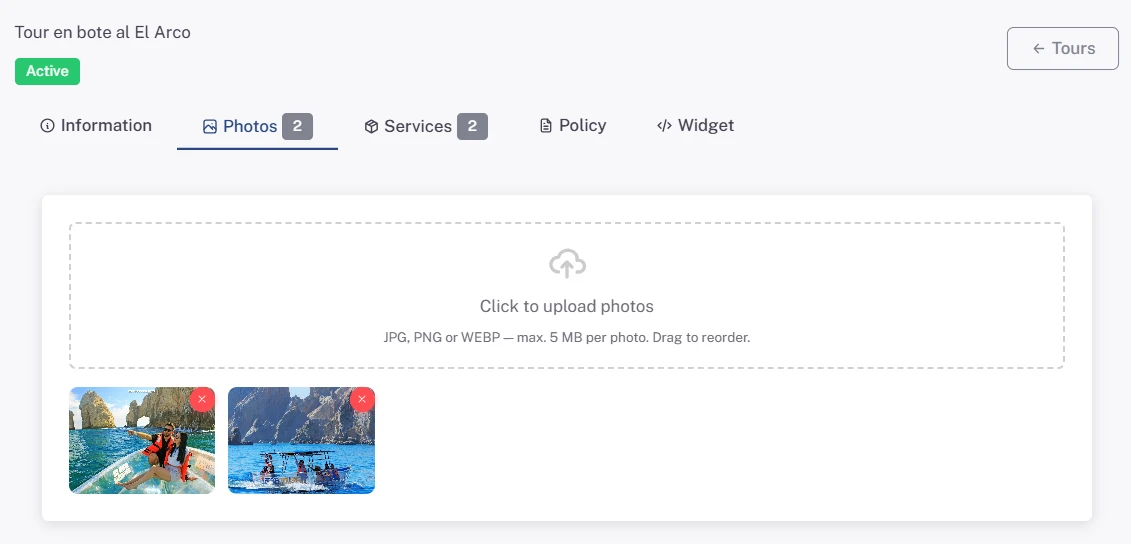
In the Photos tab, click the box to upload photos (JPG, PNG or WEBP up to 5 MB each). Drag the photos to reorder them: the first one is the main photo.
5. Set the cancellation policy (optional)
In the Policy tab you can write a cancellation policy for this tour only. If you leave it blank, your general tours policy is used (the Policies button in My Tours).
Next step
Add services with prices and schedules: Your tour's services, schedules and prices.